It was high time I reupholstered this chair that has been hanging out in our kitchen. This is a chair that I found sitting politely next to the dumpster back at the apartment. I snagged it and, since it had an ugly vinyl seat cover, I used it to practice reupholstering a chair. I just used a scrap of cotton fabric that we had since it looked good with the color of the wicker. Then when we moved to this house, it became the kitchen chair. This is where we sip our morning tea, where Daughter eats her snacks, and where she stands to help with cooking. It gets spilled on a lot.
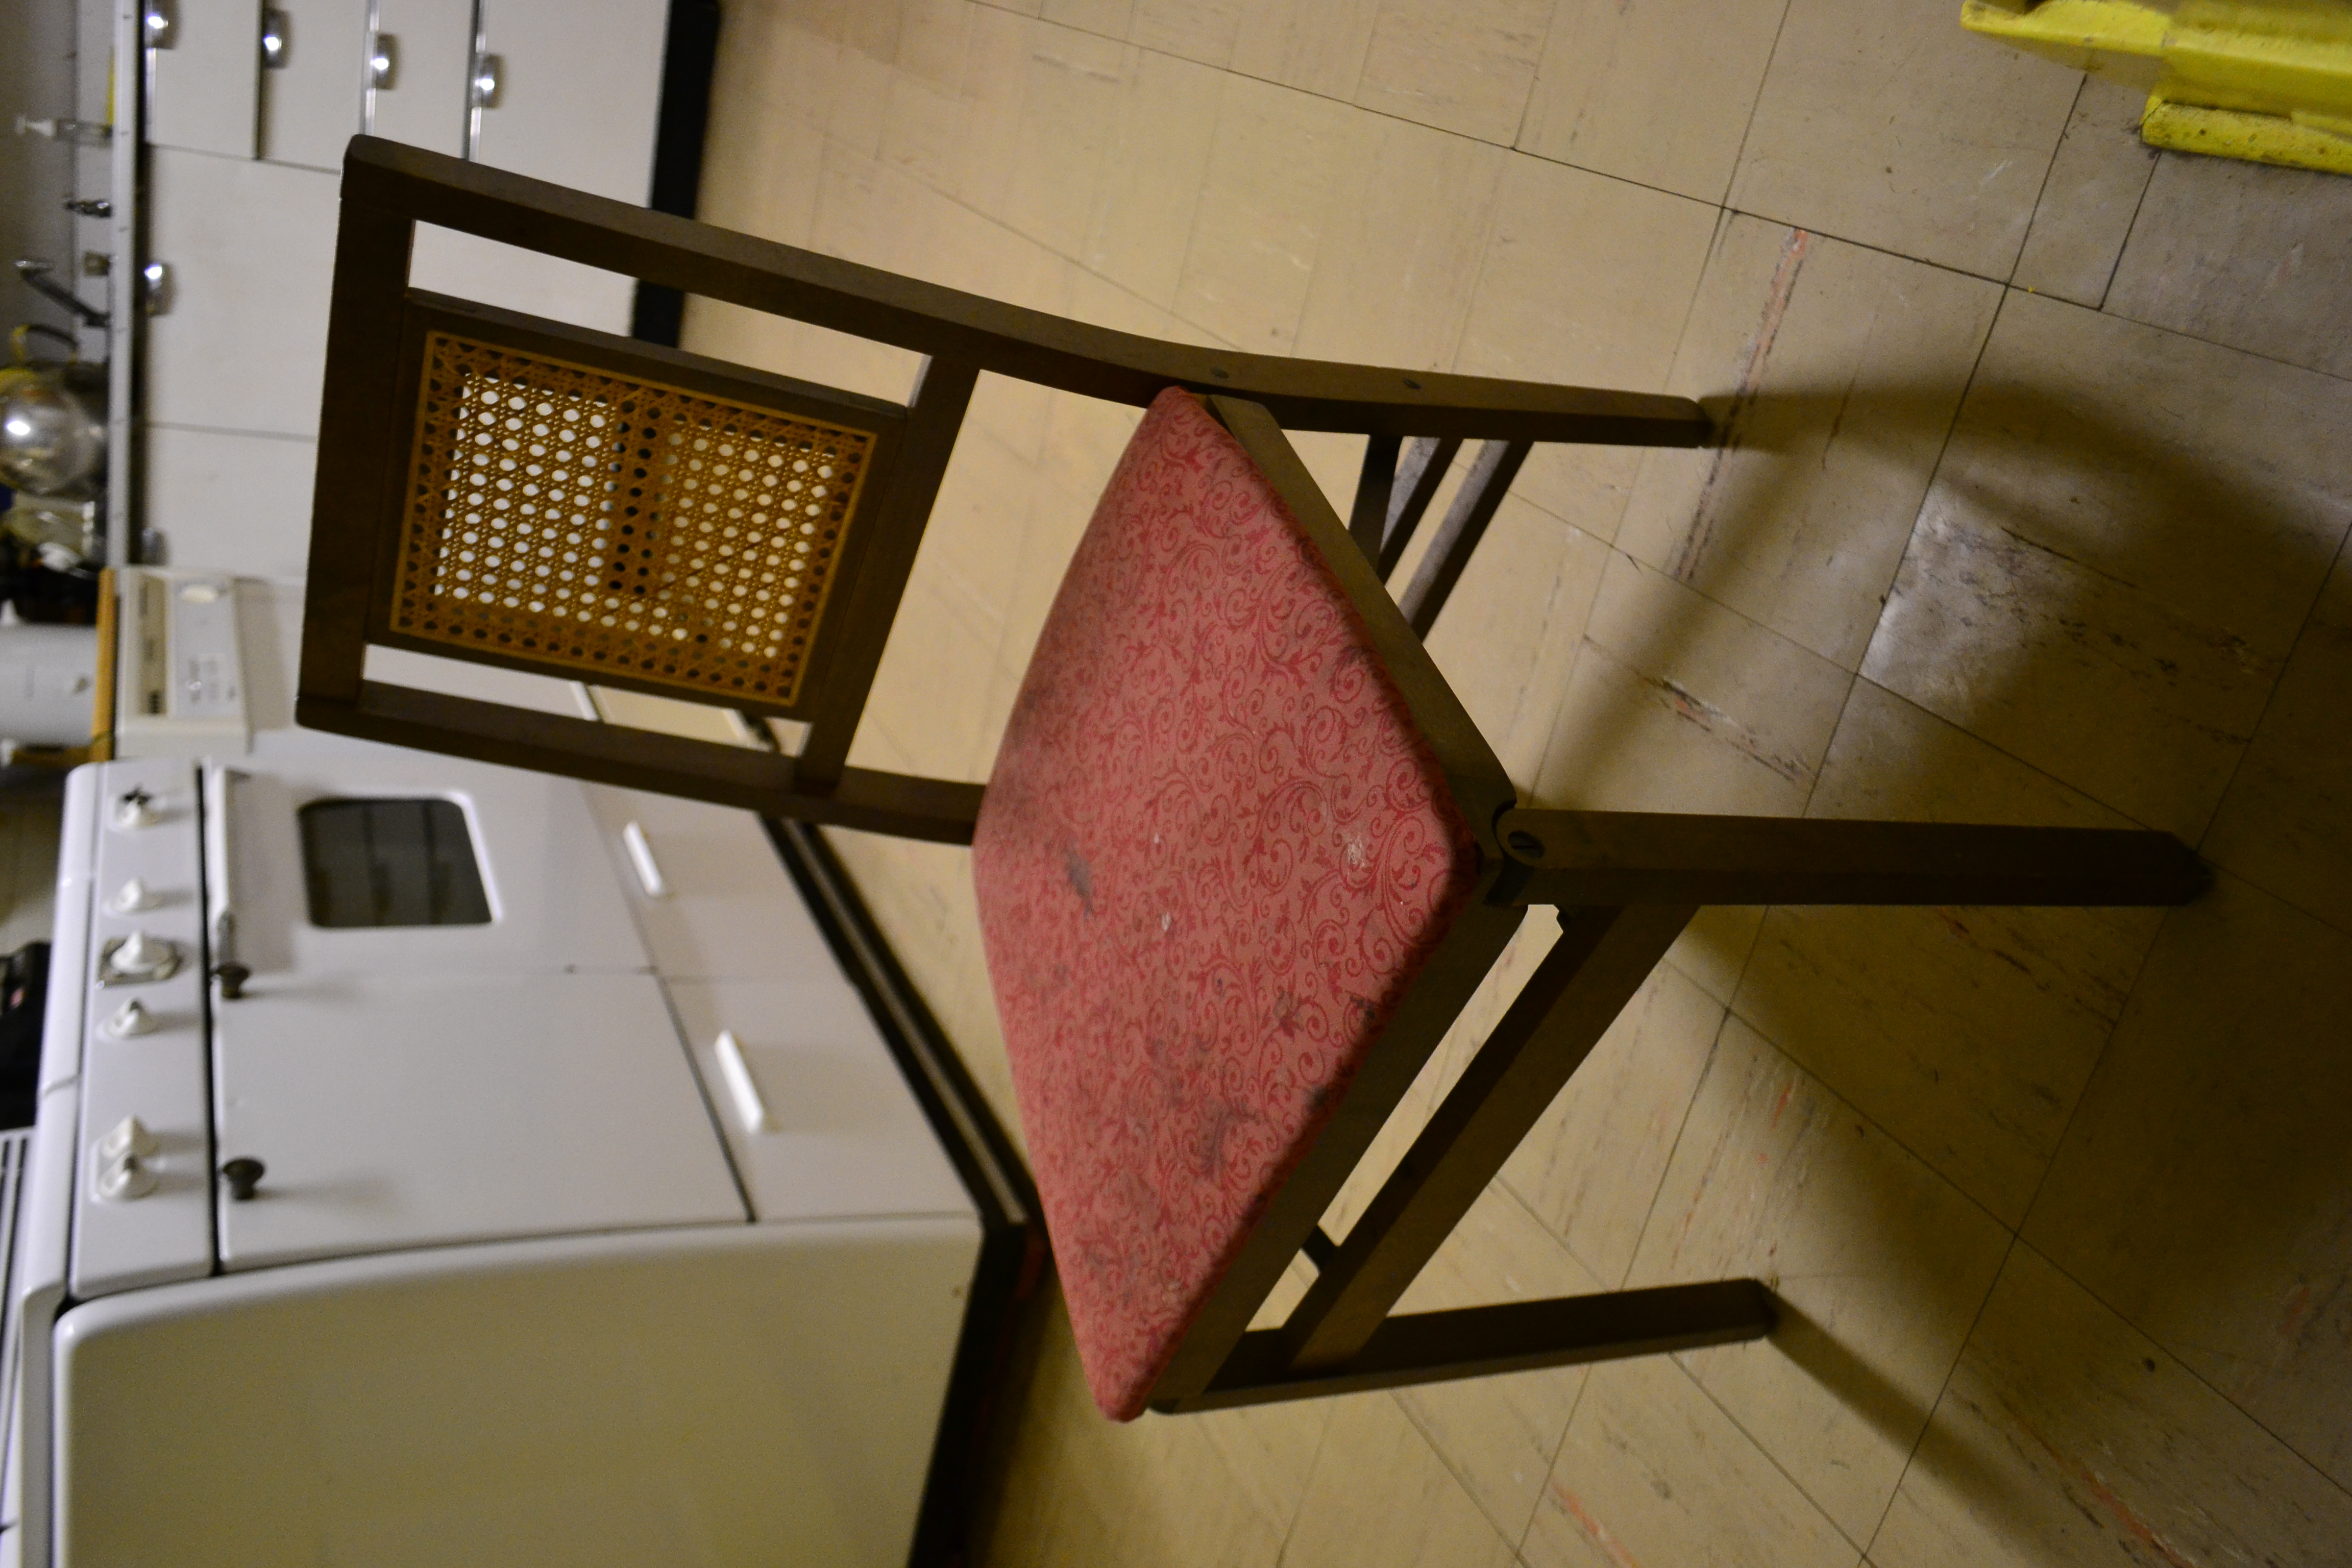
Pretty gross, right?
So I ordered some oil cloth. Oil cloth is a very plasticky cloth (it’s pretty much plastic) that can be wiped clean. Even online, there is not a very broad selection of oil cloth available. If I had found this fabric (which is actually a laminated cotton) earlier I probably would have gotten that one, but I went with something on Amazon.
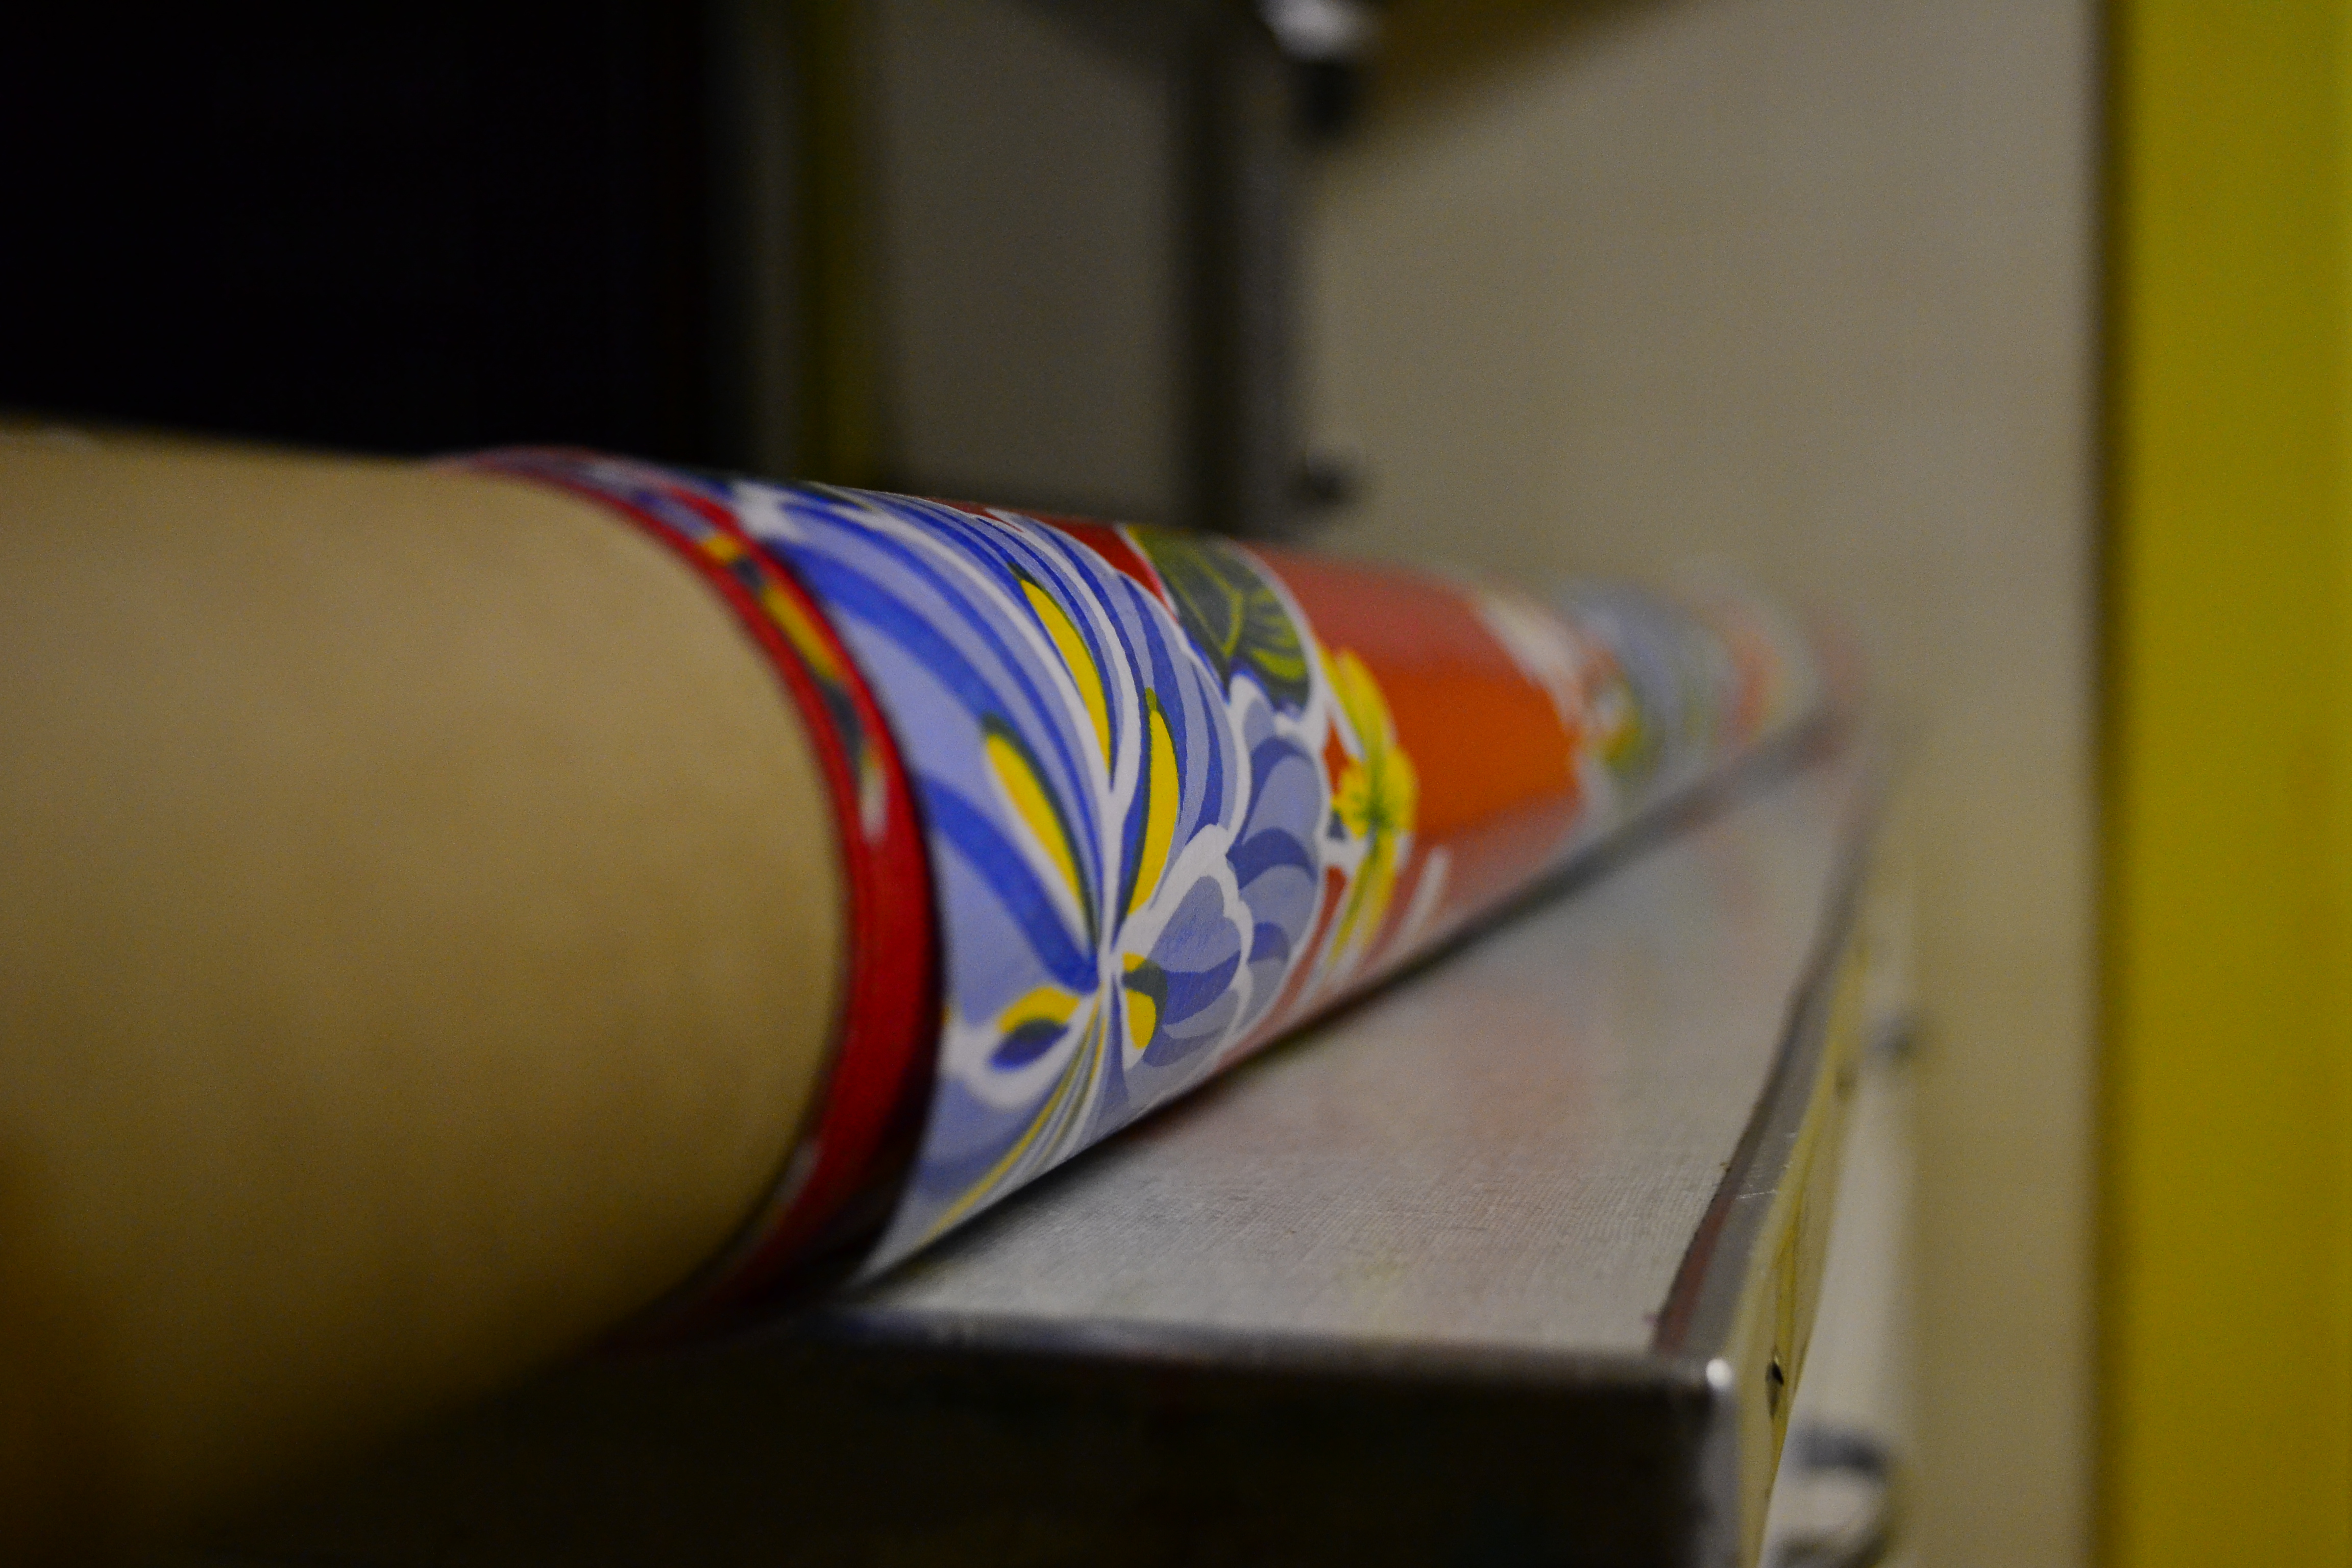
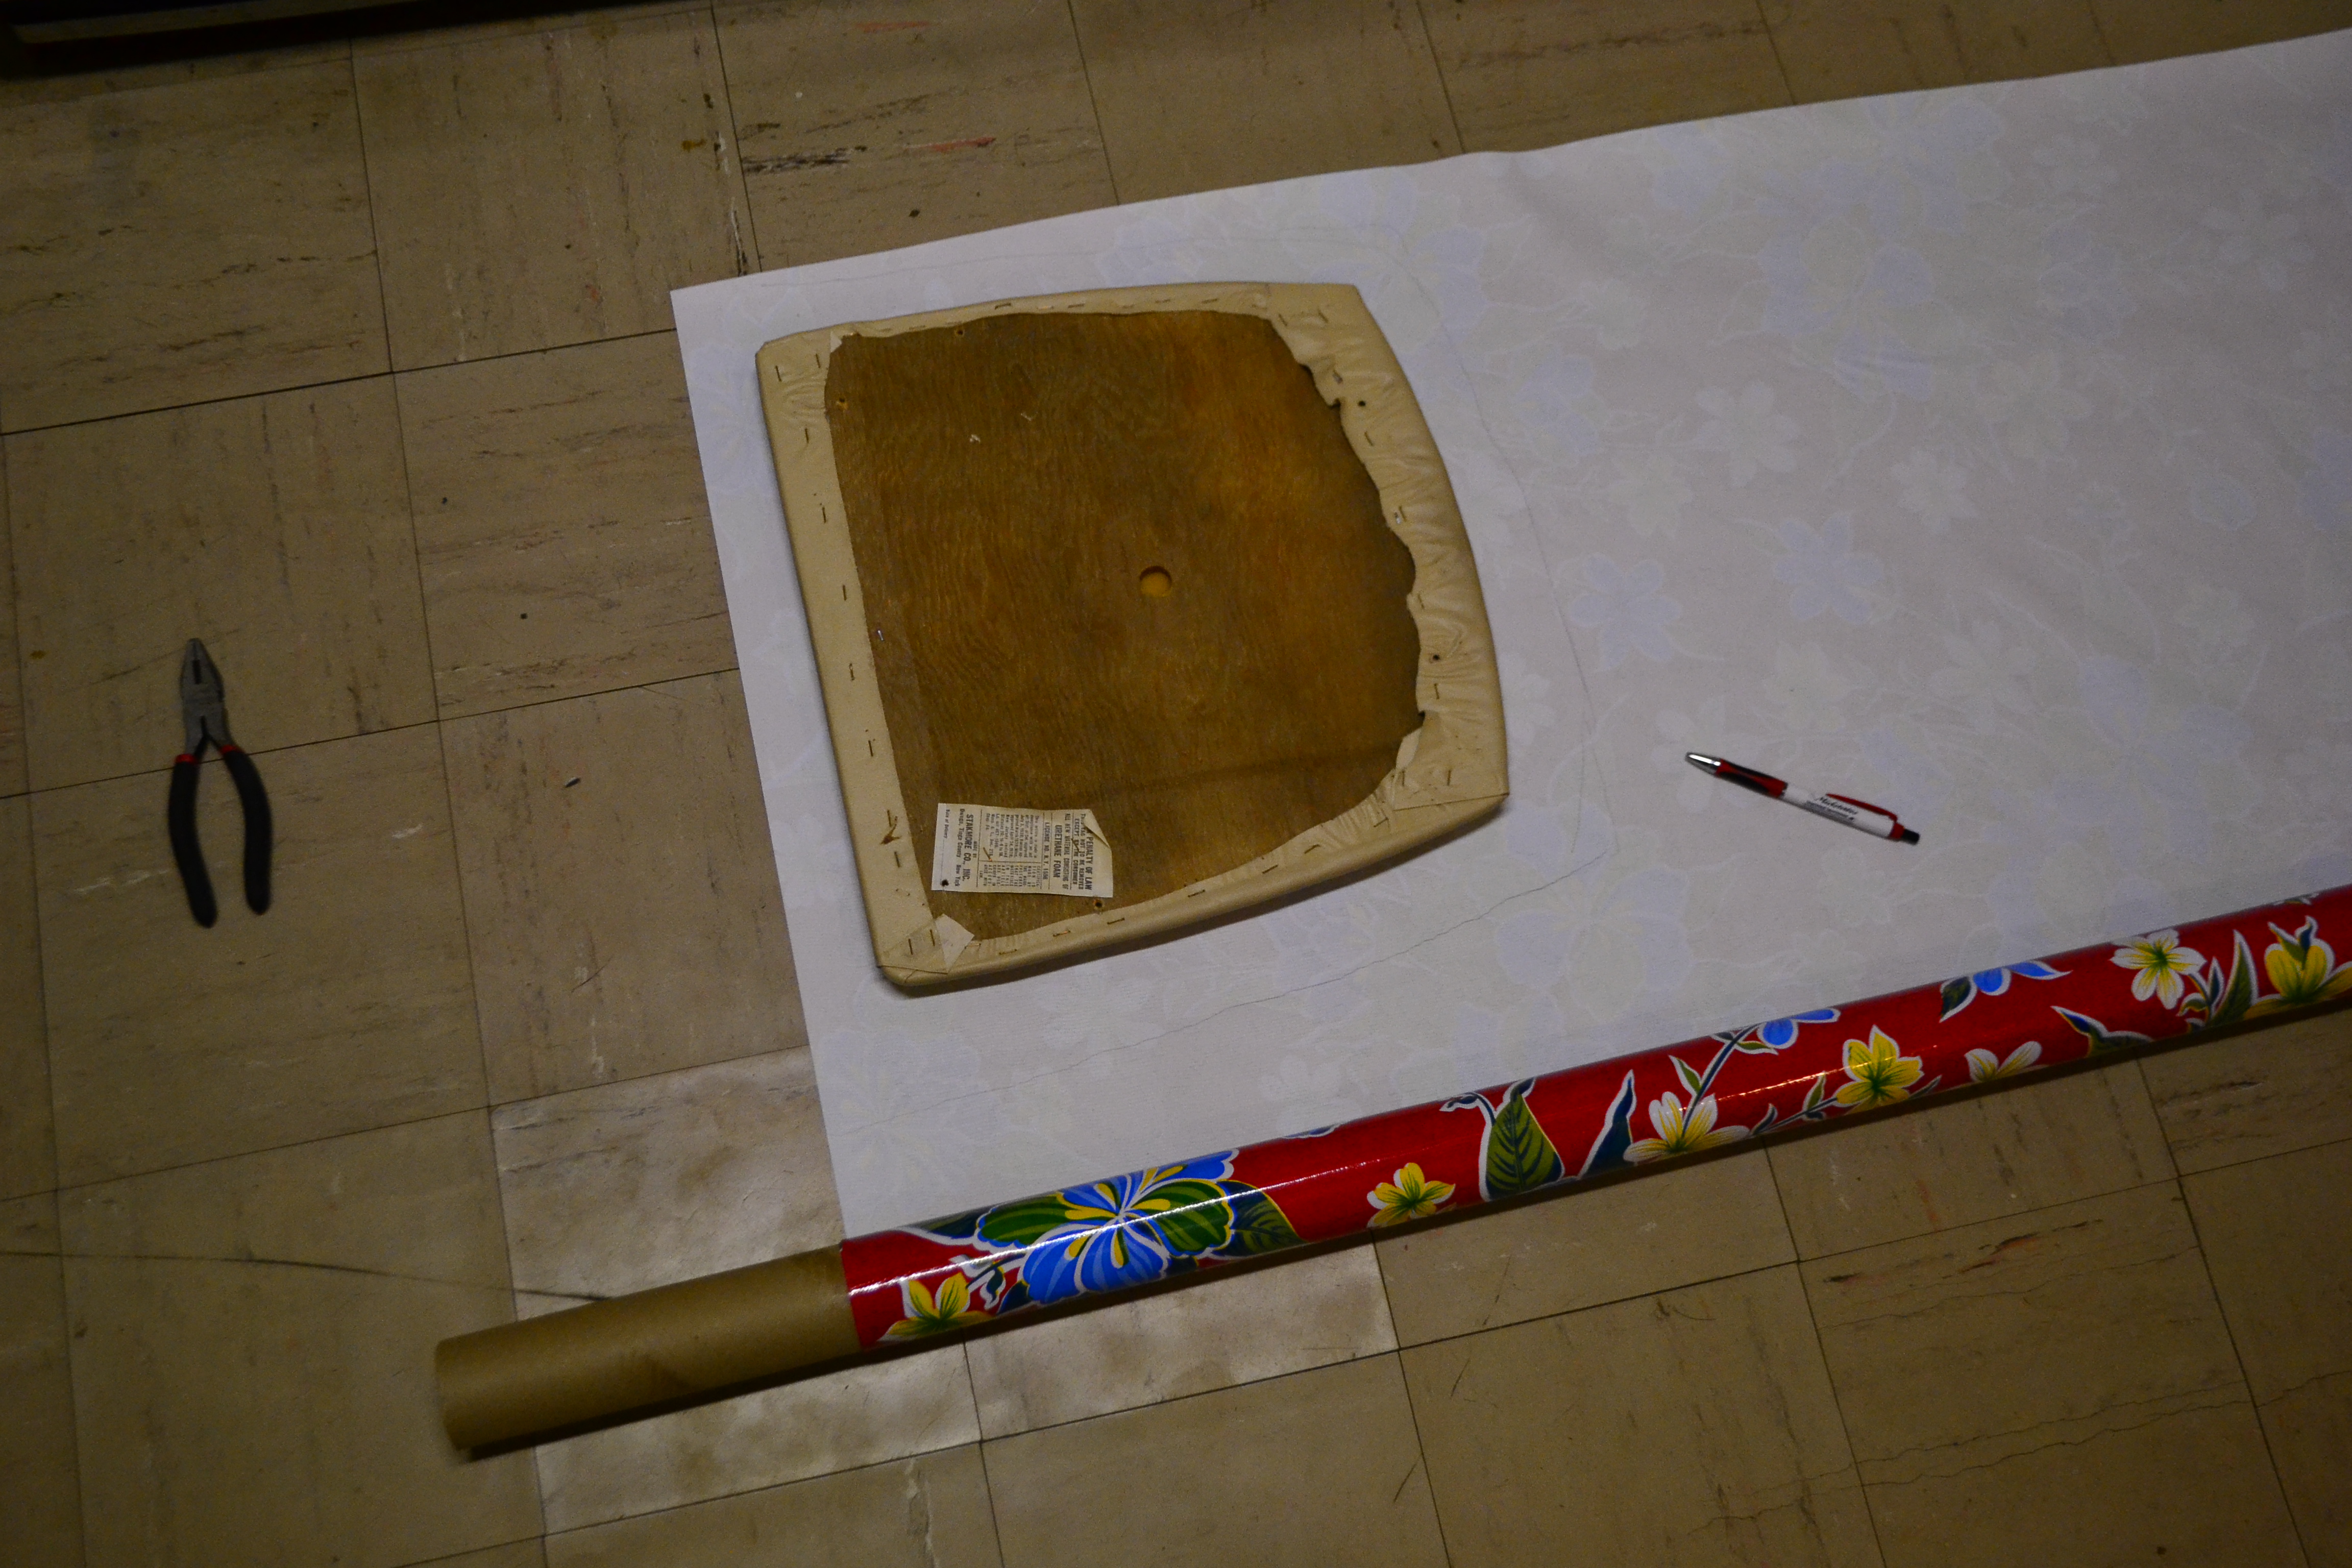
For about $7 I not only got what I needed to re-cover the chair, but about enough to cover three more chairs, plus the big tube it came on and the huge, long box it came in. Daughter had fun with that!
The first thing to do is to turn the chair over and unscrew the seat from the frame. This is how most upholstered chairs are constructed, especially chairs where the upholstery wraps to the bottom.
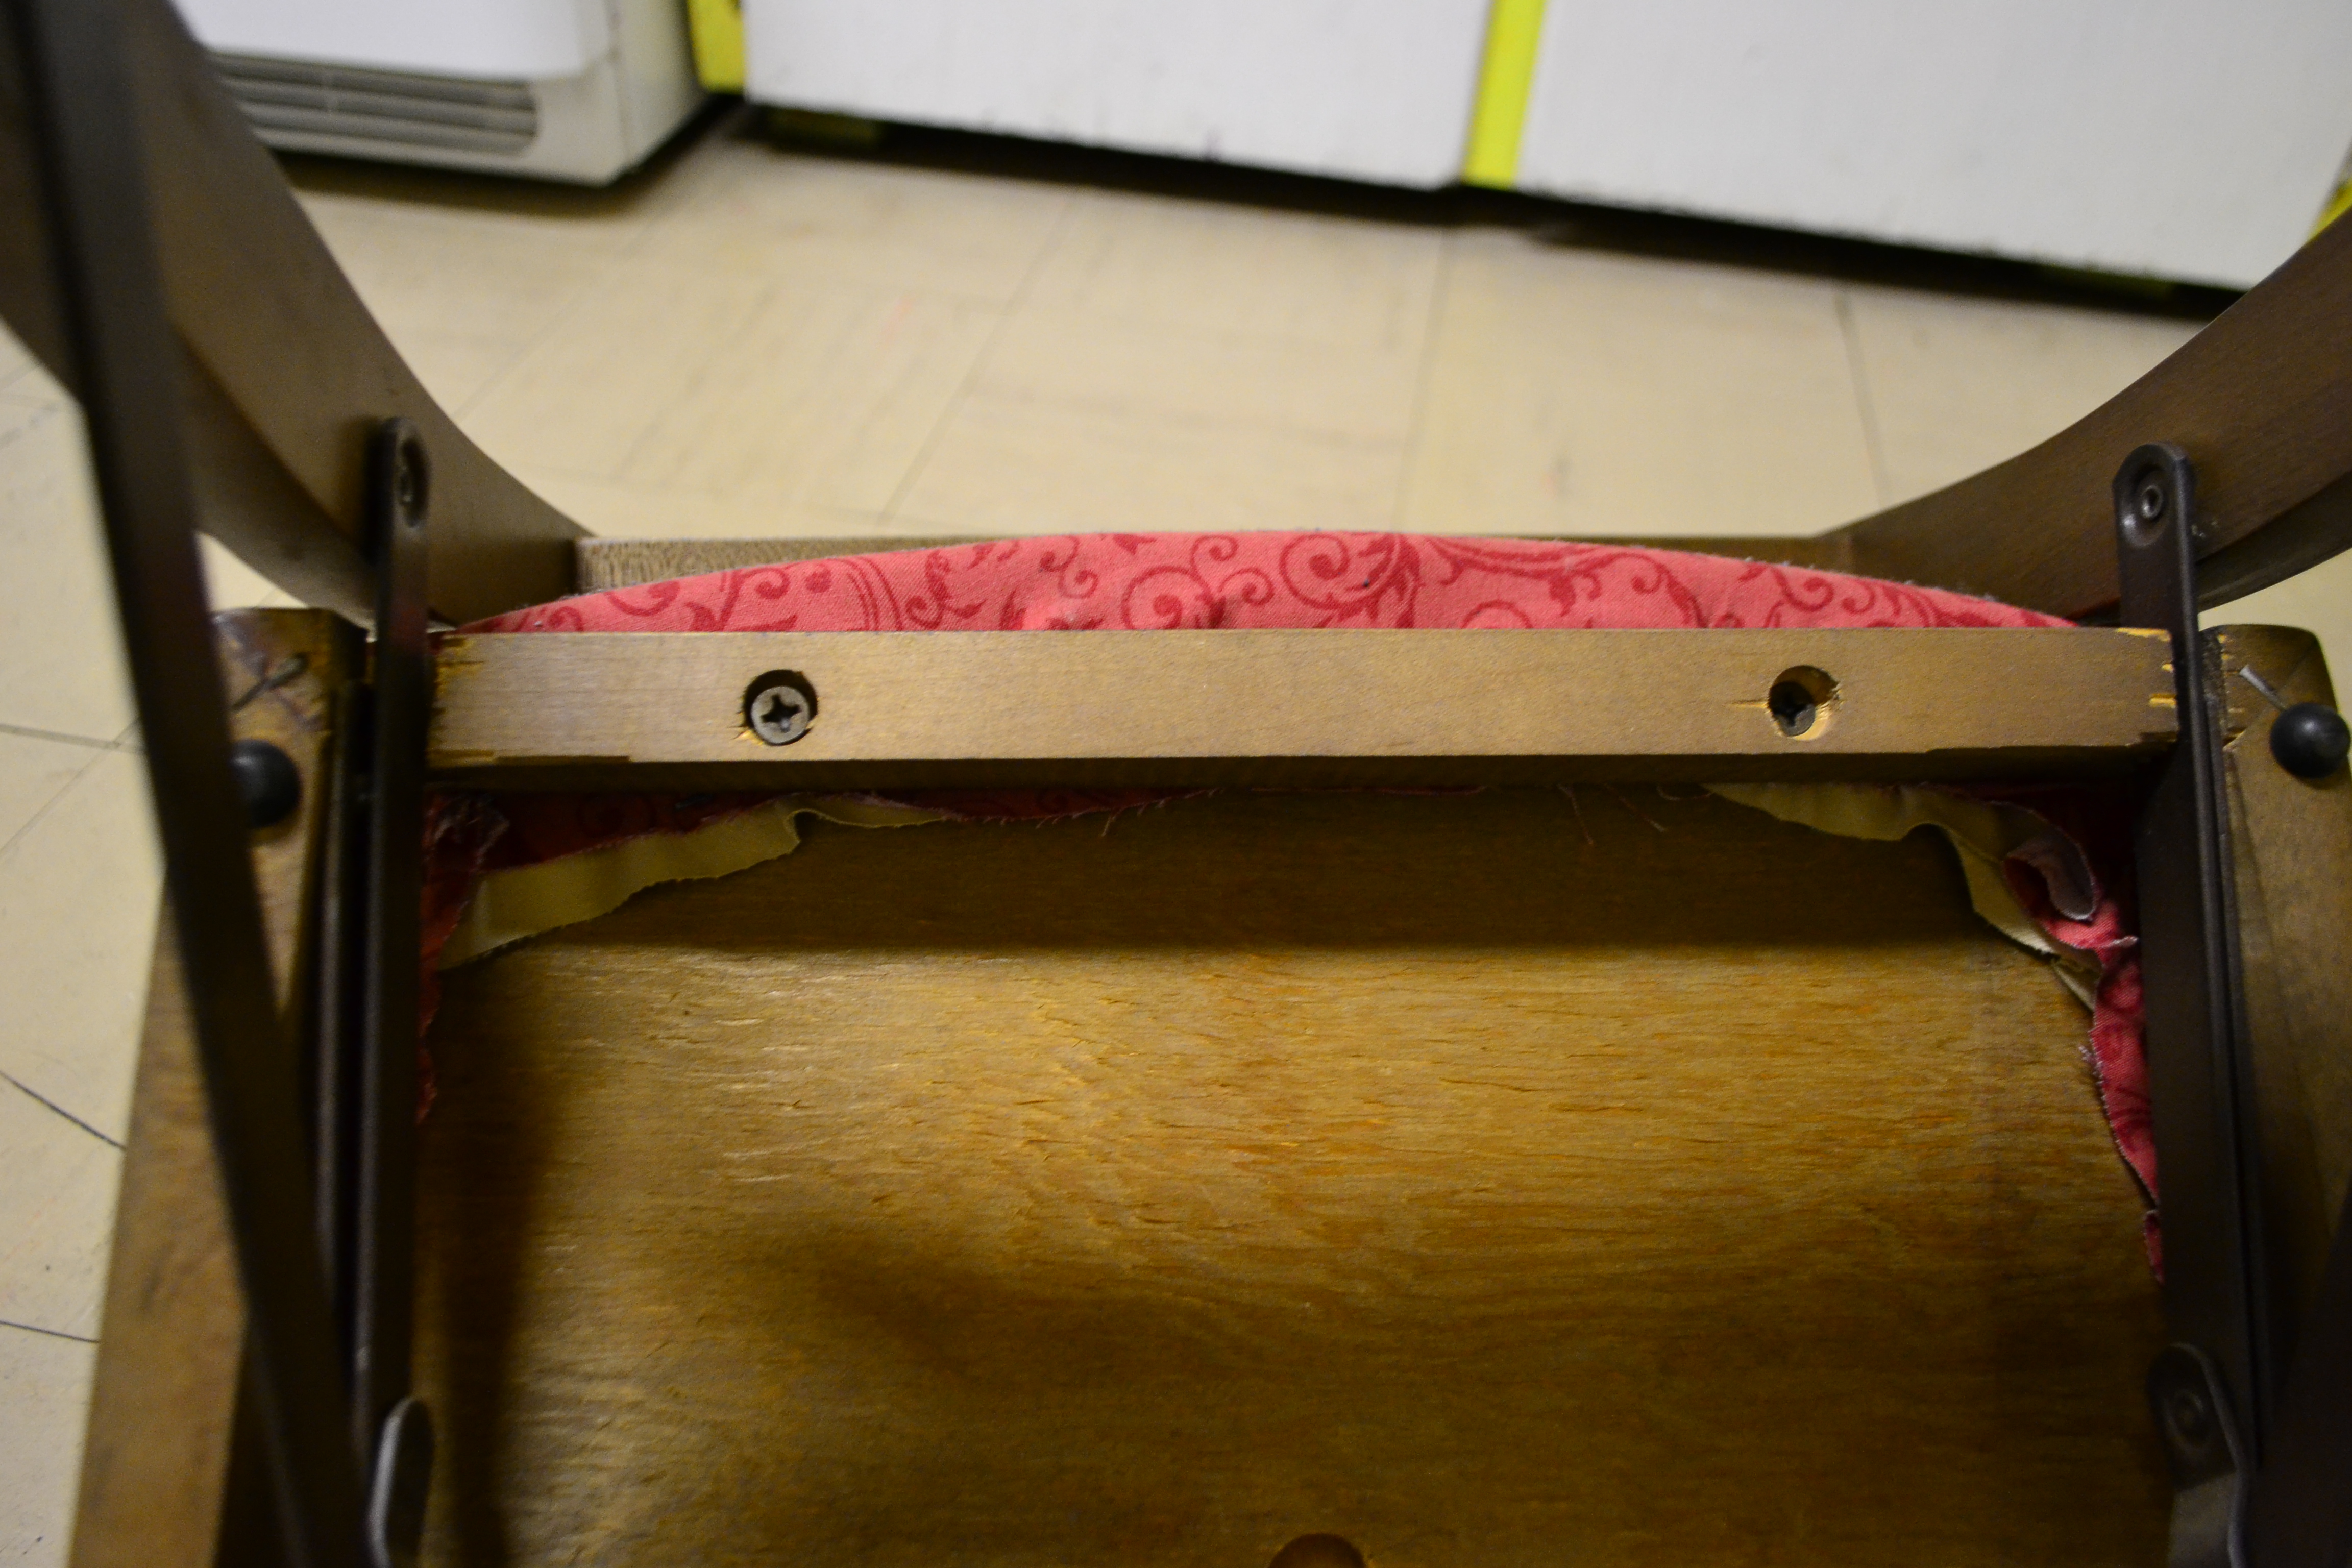
Next, I used a pliers to rip out the staples holding the cotton fabric, so I was back to the original:
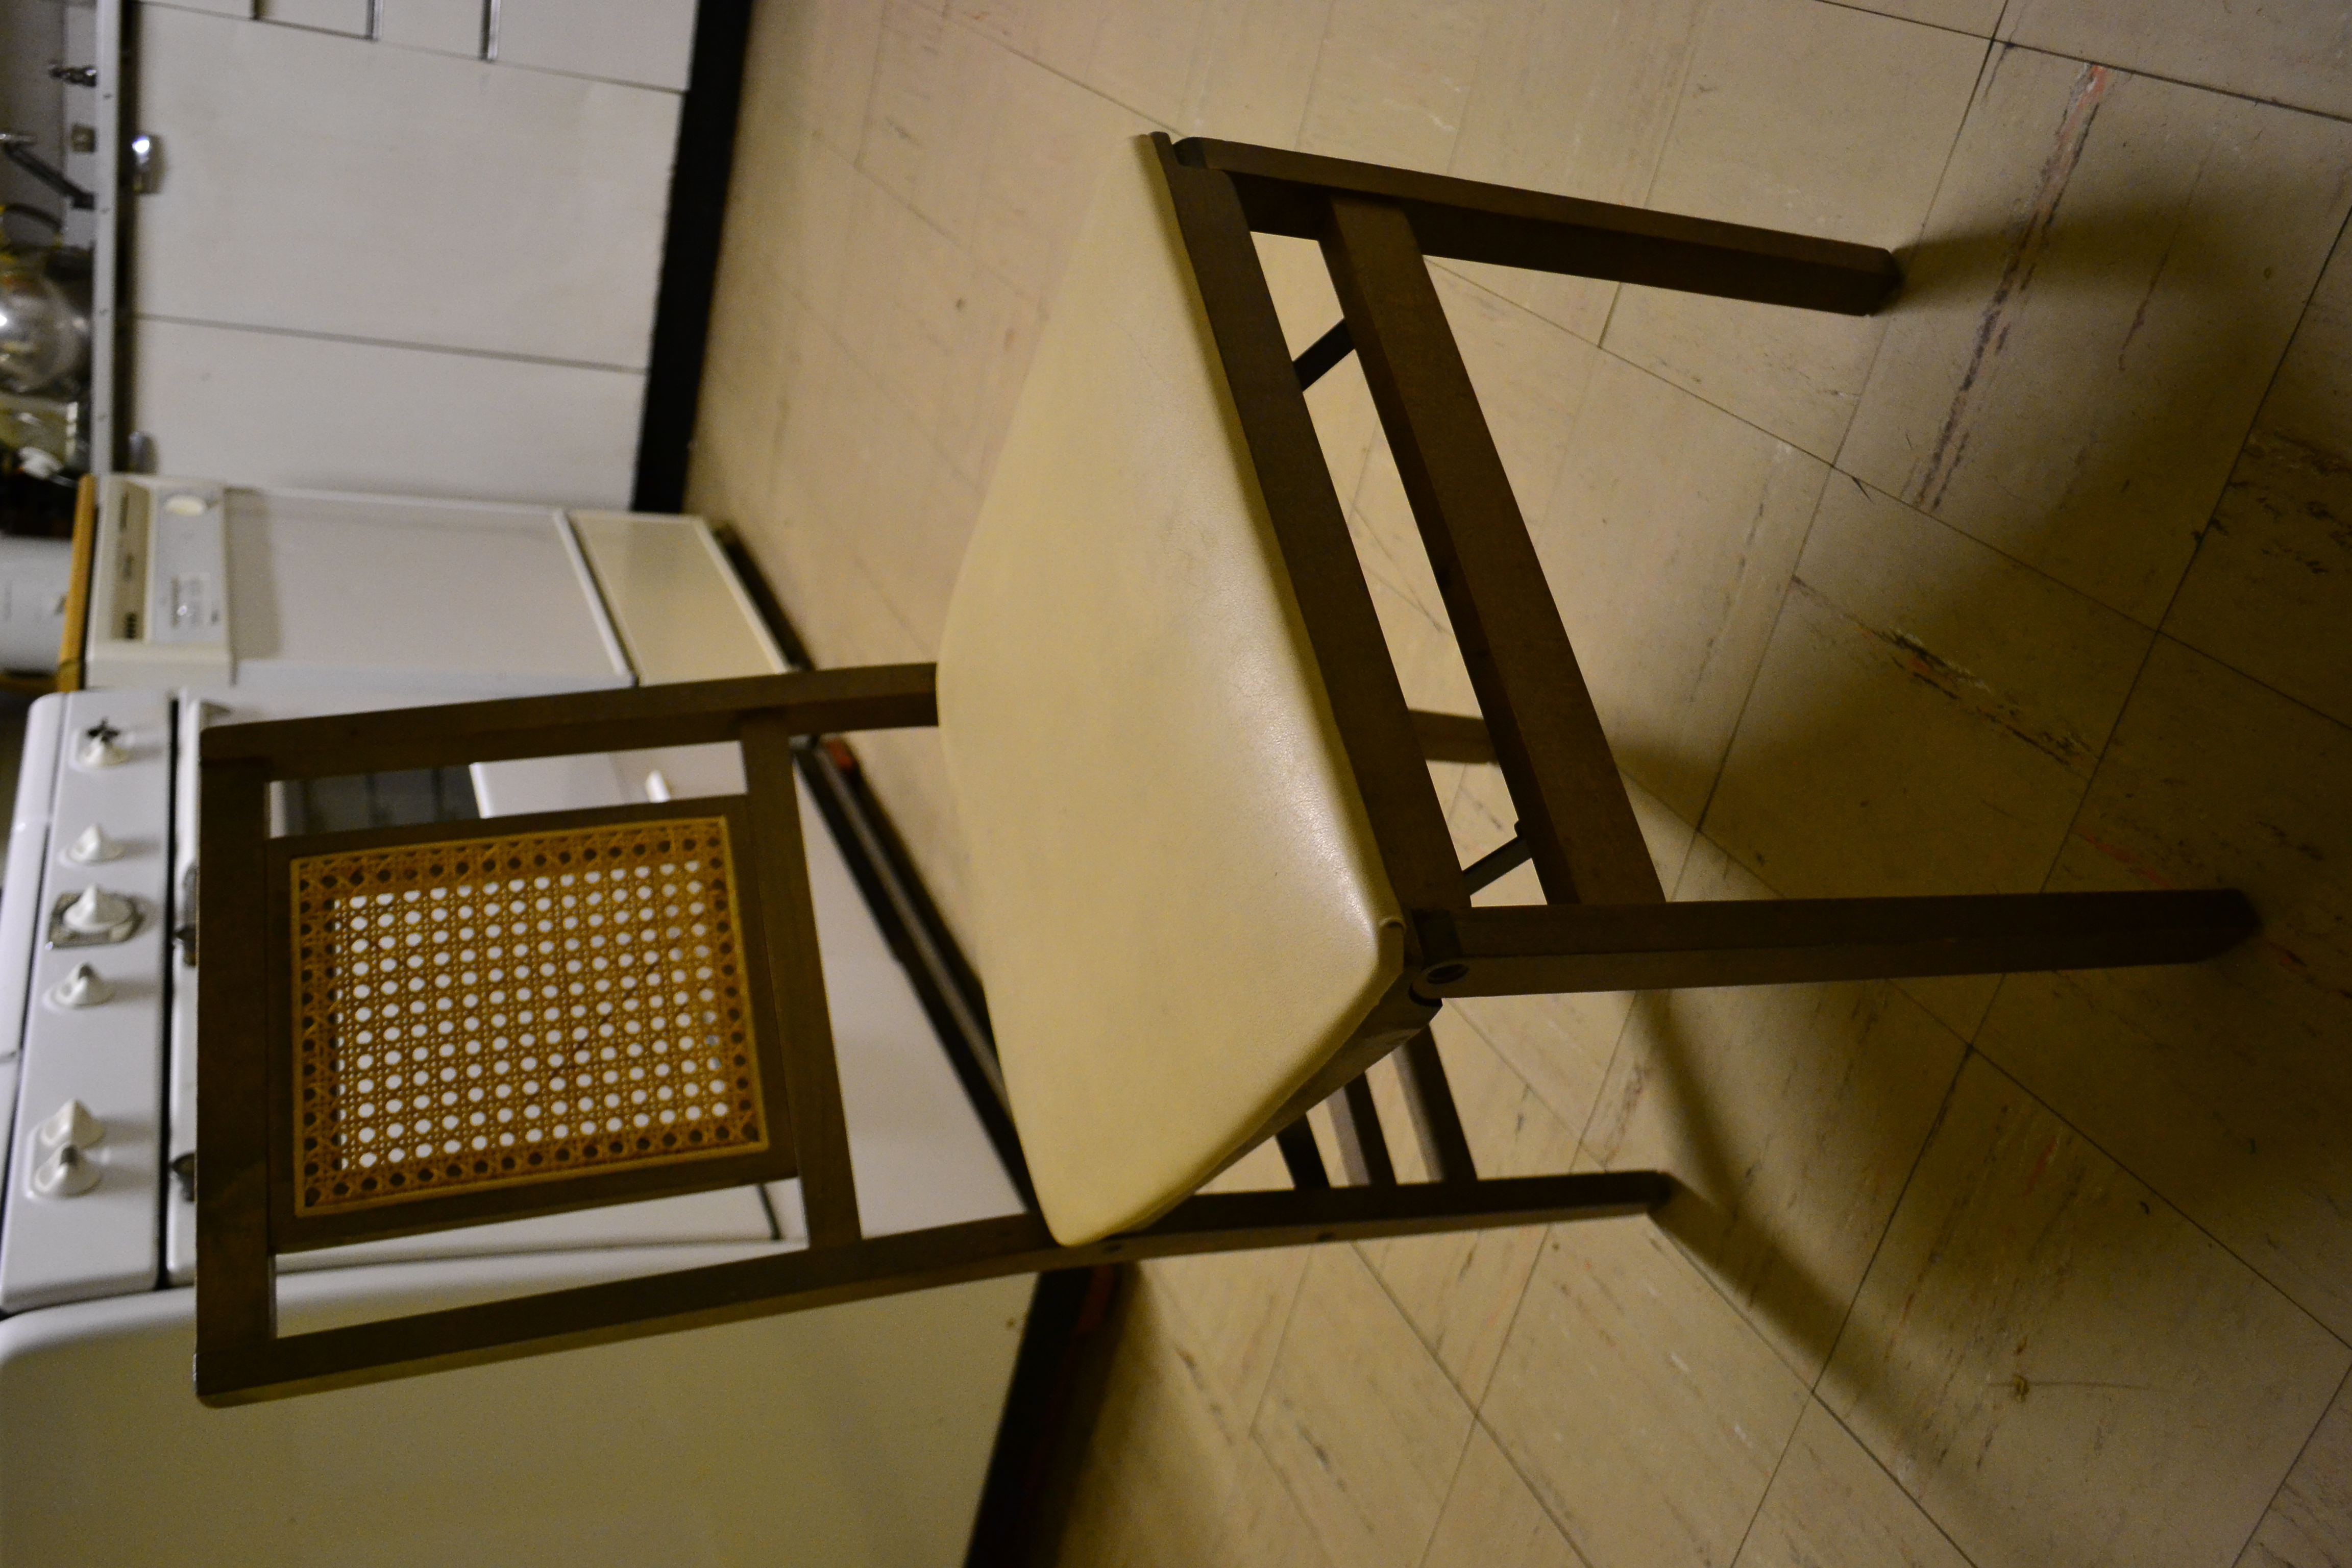
Drab, but much better than the food-and-feet-stained fabric that I should have ripped off months before. And it matches the tile in our kitchen!
Next, I placed the seat on the oilcloth and marked out where to cut the new cover. I put the oilcloth over the vinyl, as I had done with the cotton. Some people would take the original layer off, but I’d rather keep it there to keep the foam underneath in place.
Just leave enough around all the edges to fold over and staple. After you cut it, you’re ready to staple. No need to hem (with any fabric and especially not with oil cloth). Use a staple gun with relatively short staples (you don’t want them coming back to bite you in the butt) and staple it on nice and tight. Use the original cover as an example. Depending on your fabric’s pattern, you might need to be careful about direction. I usually start by stapling once in the middle of each side and then working out to the corners.
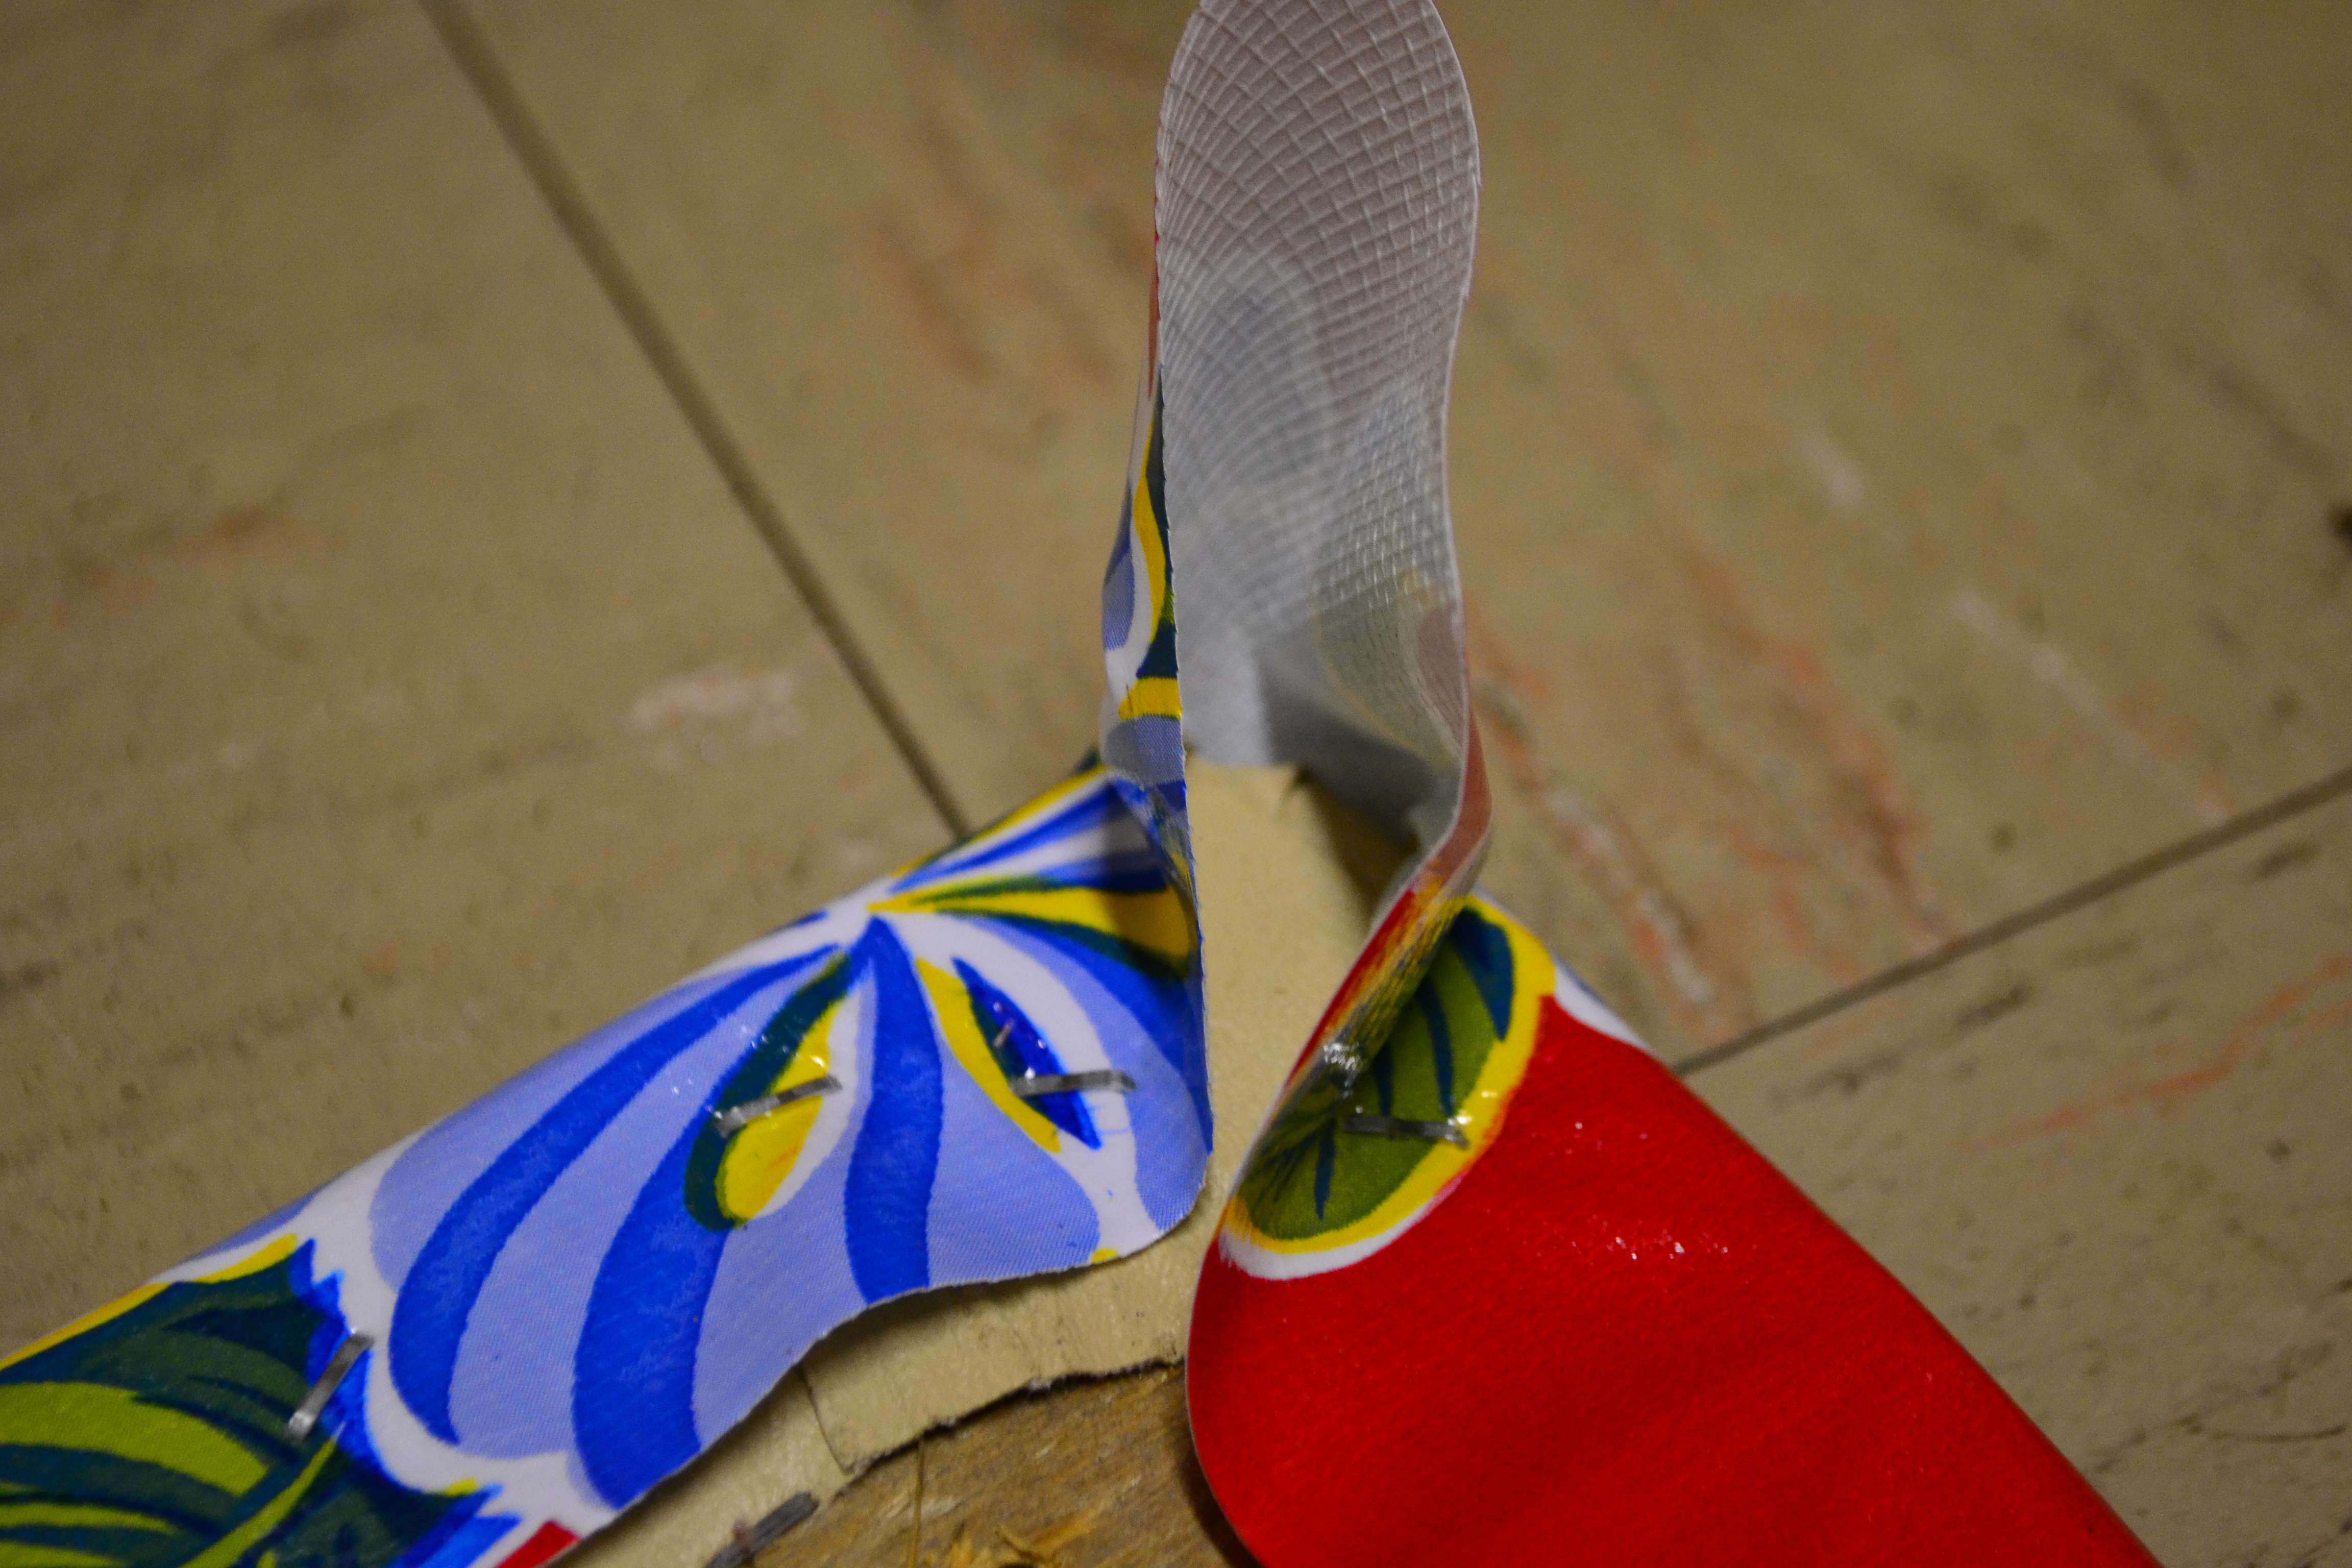
The corner are the tricky part. If you have squarish corners like these, staple straight almost all the way to the corner and then pull the fabric in at a diagonal from the corner and staple it down as flat as you can. Like this video. If your corners are more rounded, you’ll have to use more pleats and more… creativity.
Don’t worry if it covers the screw holes– screws can screw through fabric. Just make it relatively neat. But not too neat. You’re only going to see this if you’re lying on the floor. In fact, don’t worry much about anything.
Putting the chair back together is so easy a toddler can do it! I have to say though, if you are doing multiple chairs (which I did in another project) make SURE you just do one at a time or somehow mark which seat goes with which frame because if the screw holes don’t line up perfectly between the frame and the seat it is NOT an easy task.
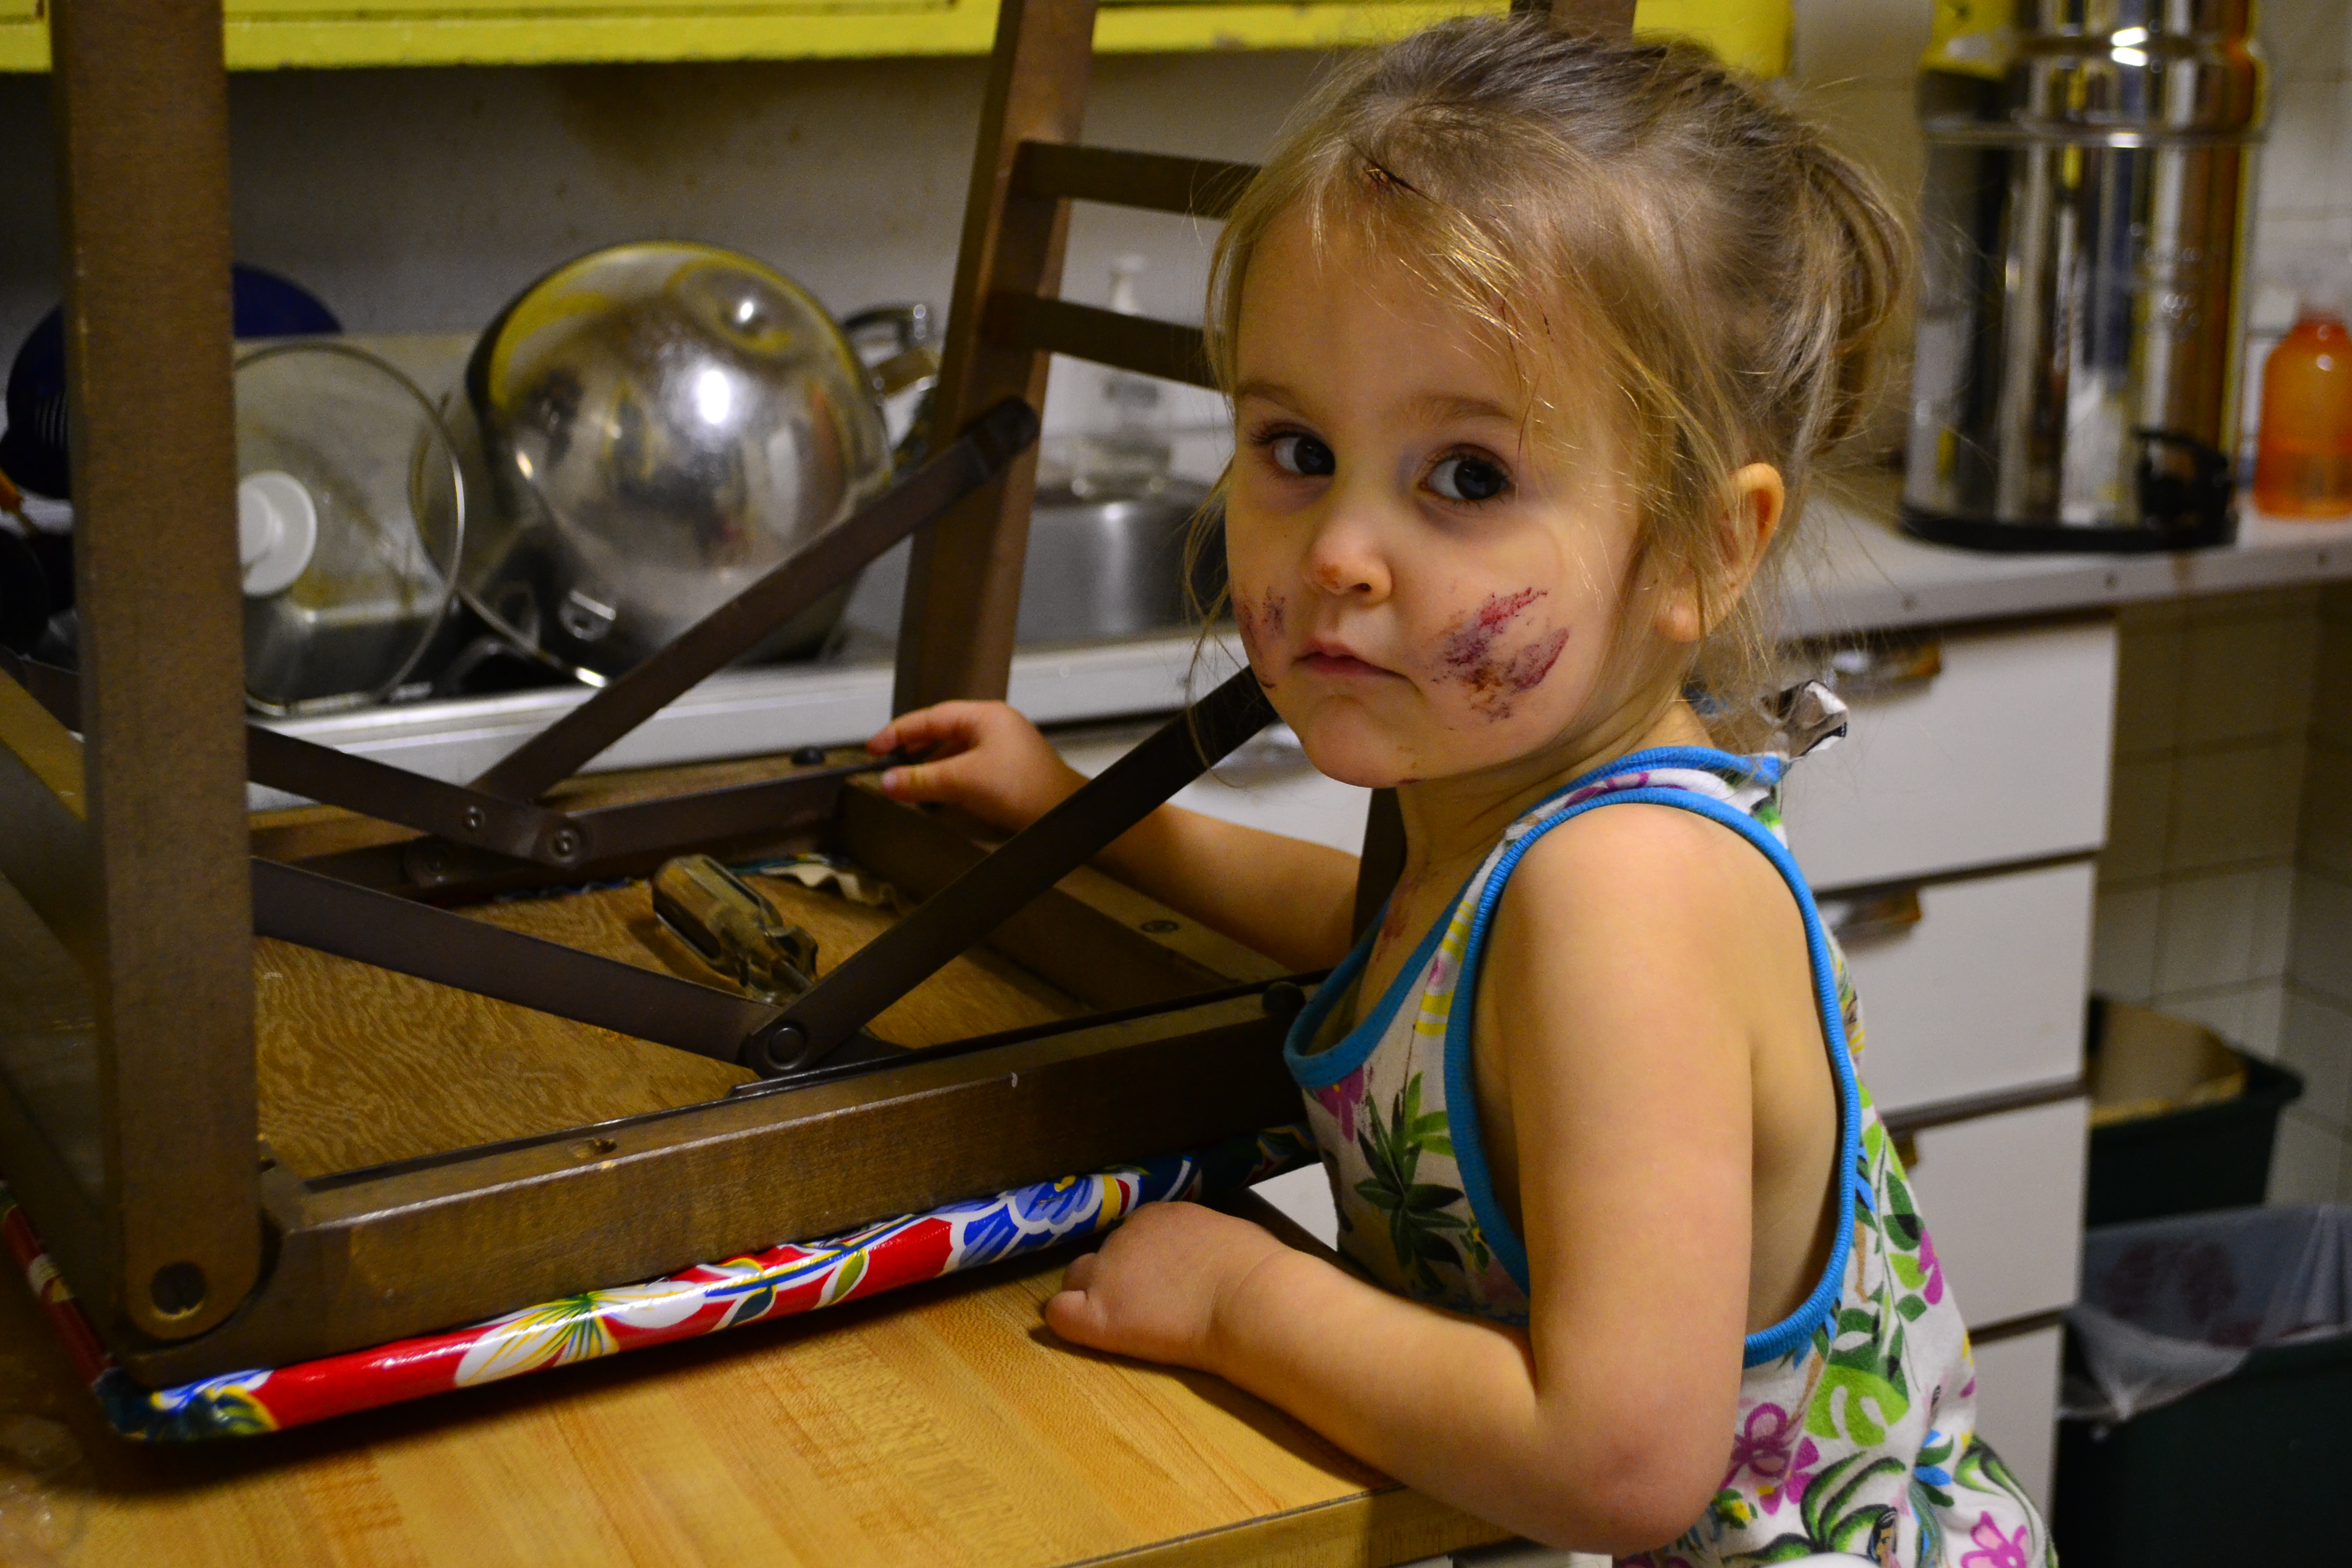
She was so proud of “her” chair!

…and so ready for the next project 🙂
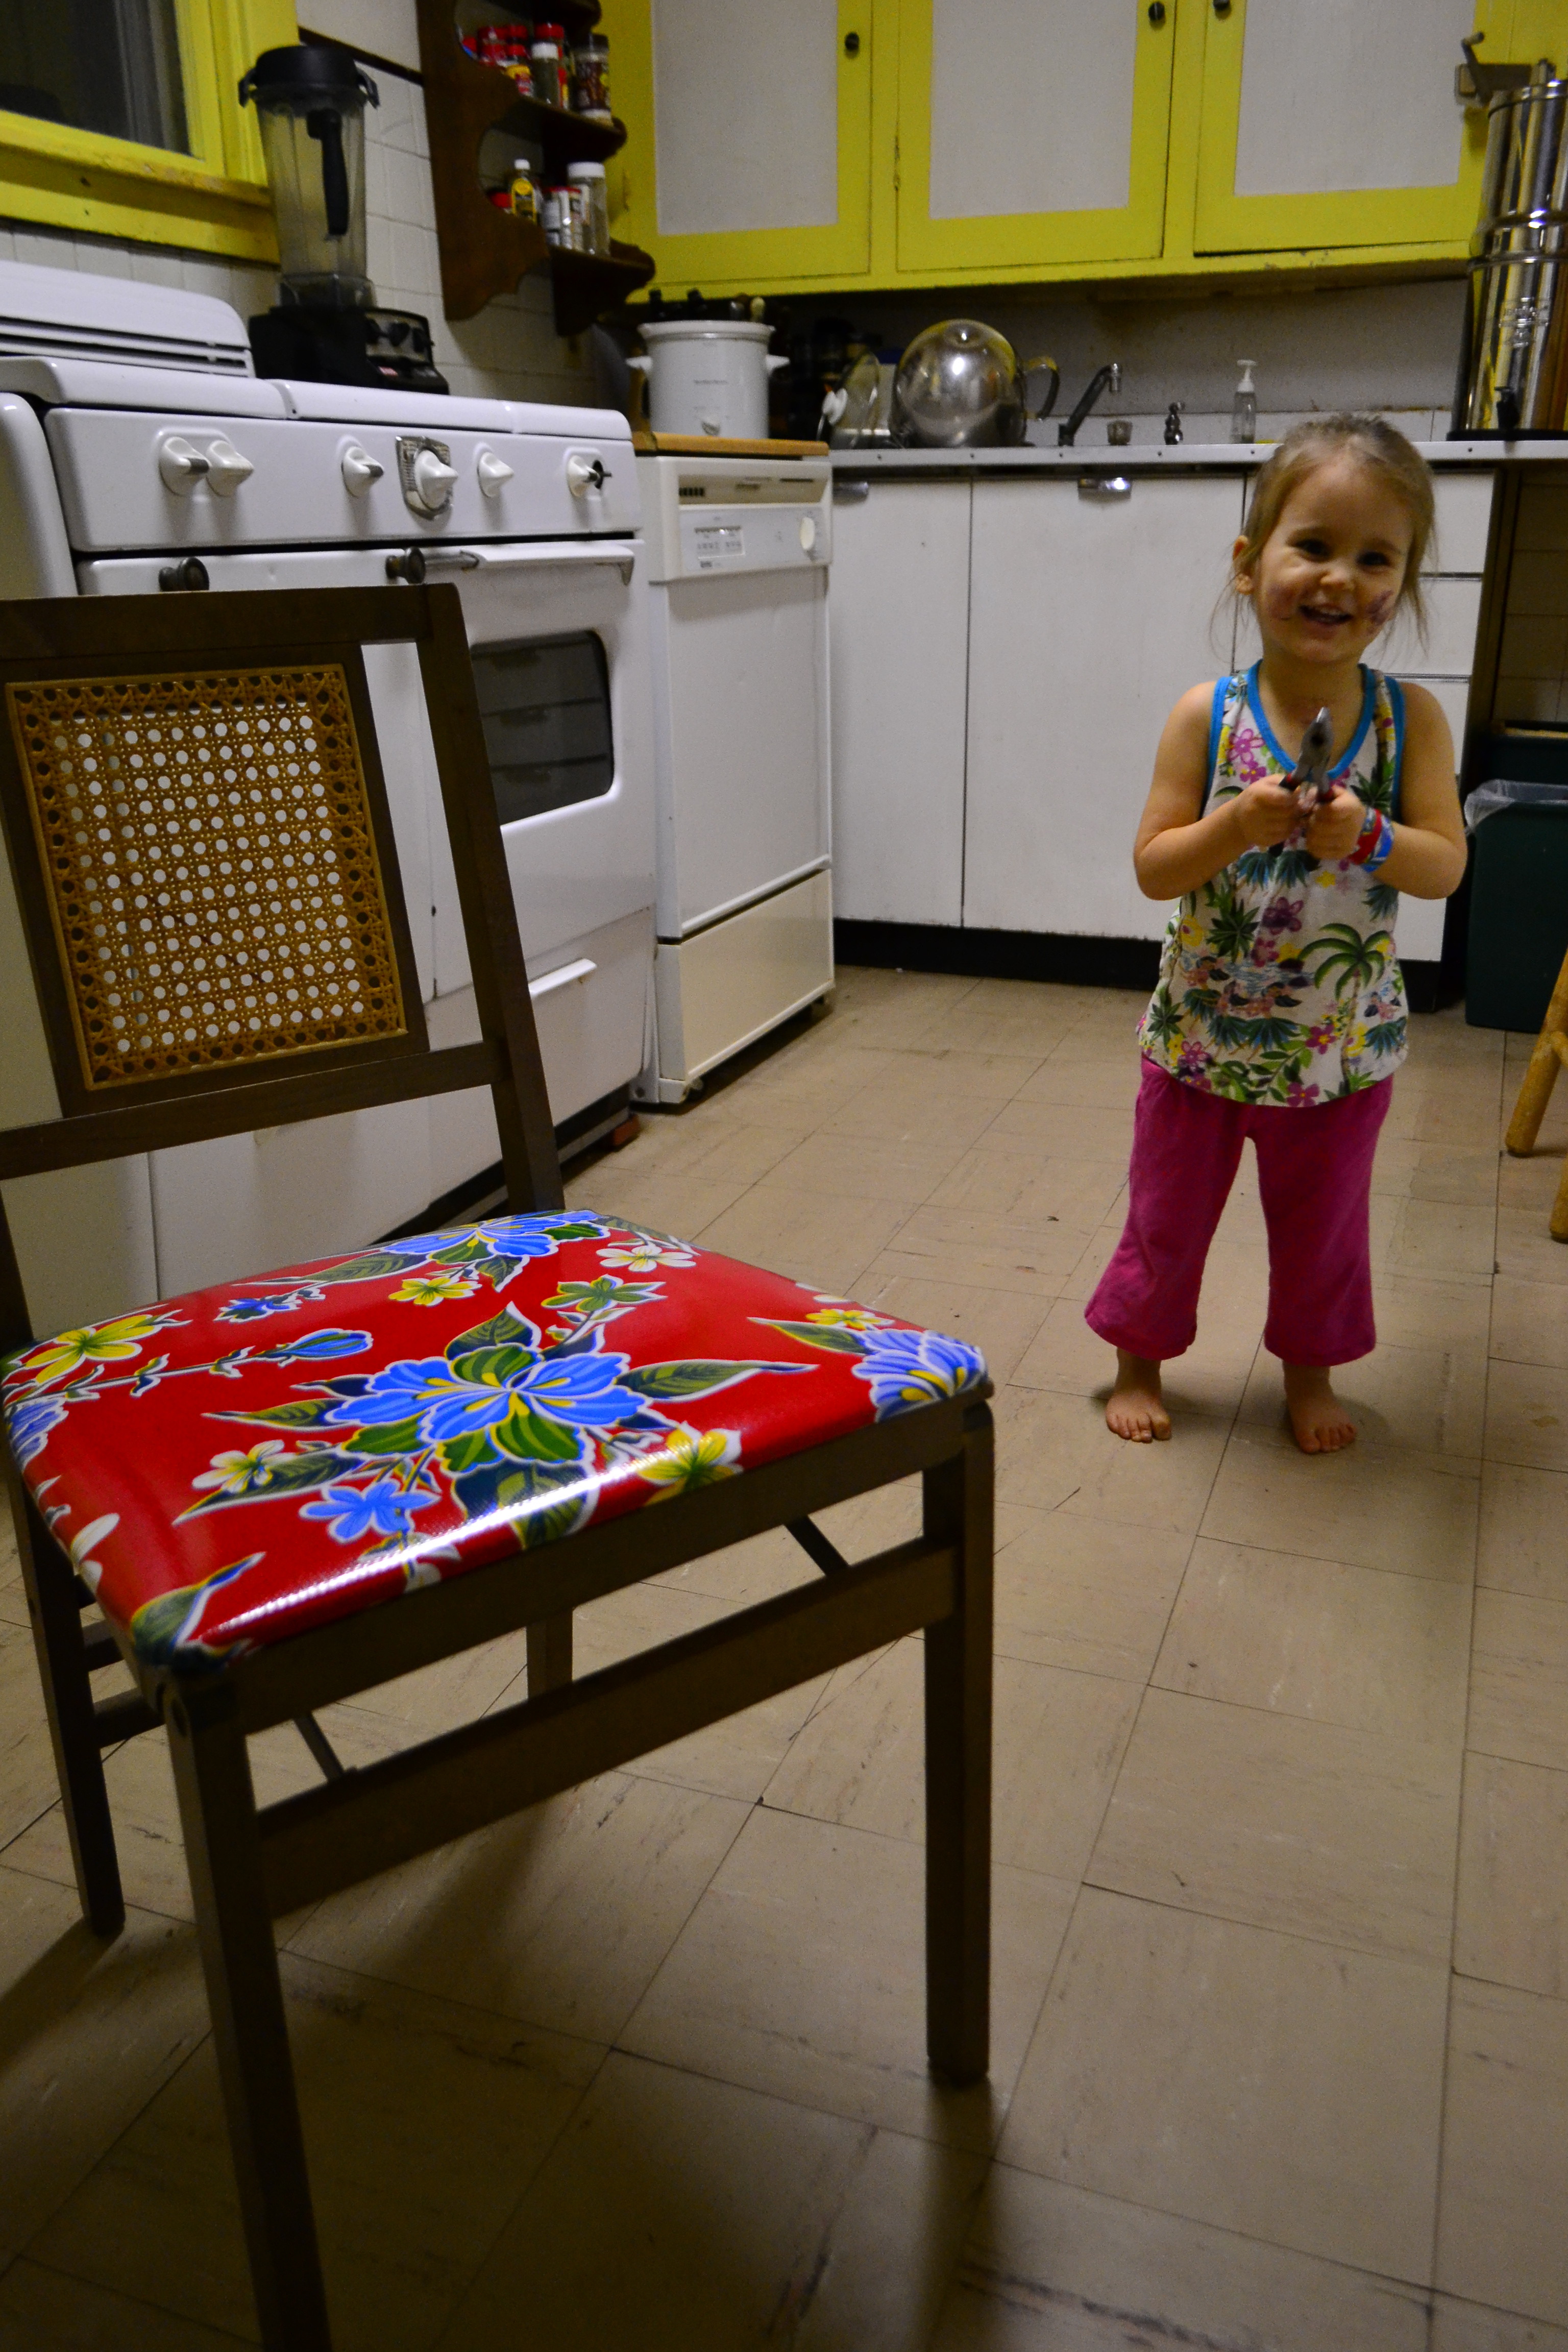
Finally, a kitchen chair that can stand up to the kitchen. Honestly, I think the fabric is a little TOO bright and shiny, but it was so easy and so fun to actually get something done… even if I know I’ll eventually redo it with a less garish fabric– someday when our kitchen paint color is also less garish!